Sourdough Poke Test Made Simple: How to Bake with Confidence
Have you ever thought: “How do I know when my dough is ready to bake?”
Timers can only tell you so much. Recipes may say “let rise for 2–4 hours,” but your dough doesn’t actually care about the clock — it cares about temperature, hydration, and your kitchen environment. That’s where the sourdough poke test comes in.
It’s simple, it’s tactile, and once you get the hang of it, it feels like your dough is talking back to you.
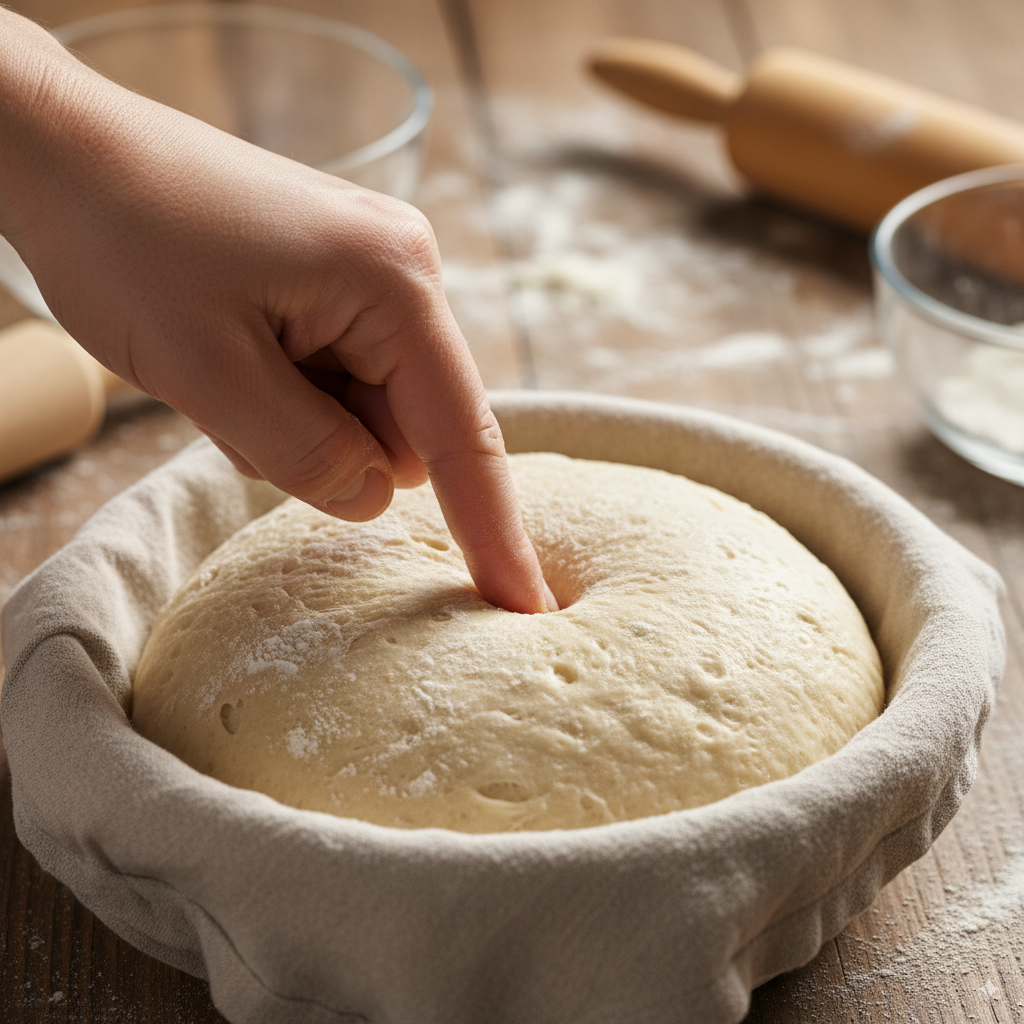
How to Do the Sourdough Poke Test
- Prep your finger — Lightly flour or oil it so you don’t stick to the dough.
- Give it a gentle poke — Press about ½ inch (1–1.5 cm) into the surface.
- See what happens:
- Springs back fast? Still underproofed. Let it rest longer.
- Slowly springs back but leaves a little dent? Perfectly proofed. Fire up the oven!
- Doesn’t spring back at all? Overproofed. It might bake up flatter, but don’t worry — it’s still edible and usually delicious.
Why Bakers Rely on It
The sourdough poke test is most useful during the final proof — that last rise before baking. Think of it as your dough’s final check-up. Instead of guessing, you’re literally feeling the gluten structure and gas inside. This matters because:
- Underproofed dough = tight crumb and weak rise.
- Overproofed dough = collapsed loaf with less oven spring.
- Properly proofed dough = airy crumb, chewy texture, and gorgeous rise.
Why There’s a Bounce (or Not)
So why does dough respond the way it does? The answer lies in the gluten network and the gases produced during fermentation and the sourdough poke test helps demonstrate if it is ready.
- When it springs back quickly:
Your dough’s gluten network is still tight and elastic, like a stretched rubber band. It hasn’t relaxed enough, which means there’s more fermentation needed. Yeast and bacteria haven’t produced enough carbon dioxide to fully fill the dough structure, so it resists your poke. - When it springs back slowly with a soft dent:
This is the sweet spot. The gluten has stretched and relaxed, but it still has strength. Gas bubbles are evenly distributed inside, so your poke compresses the structure slightly but it recovers gently. That balance of elasticity and extensibility signals the dough is ready for the oven. - When it doesn’t spring back at all:
The gluten network has weakened and can no longer hold its shape. Fermentation has gone too far, and the gas has stretched the gluten to its limit. Instead of bouncing back, the dough just sighs and stays where you poked it. Overproofed dough can still bake into good bread, but you’ll see less oven spring and sometimes a flatter loaf.
This little bounce — or lack of it — is essentially your dough showing you how much strength and gas it has left. It’s not magic, it’s gluten and fermentation science working together.
A Few Tips to Get It Right
- Cold dough behaves differently. If your dough is coming out of the fridge, it’ll spring back quicker than room temp dough. Let it warm slightly before testing.
- High-hydration doughs are softer. They’ll respond more slowly to pokes, so learn the feel of your particular recipe.
- Don’t just poke — observe. Look at dough volume, surface bubbles, and texture along with your poke results.
My Take
At first, the sourdough poke test feels almost too simple. But after a few bakes, you’ll notice your confidence growing. You’ll stop stressing over whether the recipe says “3 hours” and instead trust your hands.
It’s like learning to listen to your dough’s language. And once you do, your bread turns out consistently better — with fewer surprises when you open the oven door.
Pro tip: Practice poking at different stages of bulk and final proof. Even overproofed dough is valuable because it trains your instincts for the next bake.
Pingback: Sourdough Proofing Test : How to Know When Your Dough is Ready - sourdoughsavvy.com