Shaping the Dough: Step-by-Step Guide
Step 1: Pre-Shaping
- After bulk fermentation, gently turn your dough onto a lightly floured surface.Tip: Handle carefully to preserve the gas bubbles formed during fermentation.
- If making multiple loaves, divide the dough evenly with a bench scraper or sharp knife.
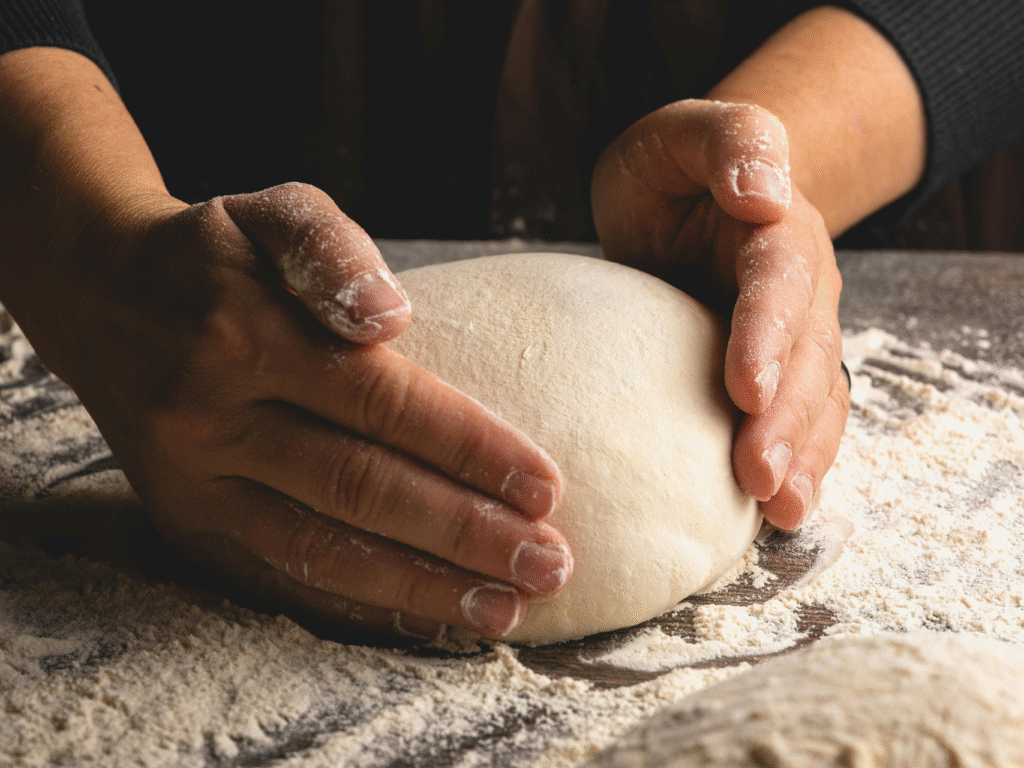
- Gently fold the edges of each portion toward the center to form a round shape.
- Flip the dough so the seam side is down and create surface tension by pushing it against the work surface.
- Cover with a damp cloth or plastic wrap and rest for 20–30 minutes (bench rest).
Why pre-shape matters:
- Relaxes the gluten, making final shaping easier.
- Preserves internal gas bubbles for a better crumb structure.
Step 2: Final Shaping
- Decide on your loaf shape: boule (round) or batard (oval/elongated).
- Boule: Tighten the pre-shape and seal the bottom seam.
- Batard: Stretch the dough into a rectangle, fold the long sides toward the center, and roll from one short end.
- Place the shaped dough into a well-floured banneton (proofing basket) or a floured cloth-lined bowl.
- Seam side up for a smooth surface ready for scoring.
Why shaping matters:
- Surface tension: Creates a “gluten cloak” that holds shape and supports oven spring.
- Gluten strength: Properly developed gluten gives structure for upward expansion.
- Proofing baskets: Help maintain shape and can create decorative patterns.
Pro Tips
- Avoid completely degassing your dough; internal bubbles are key for open crumb.
- If dough snaps back during shaping, give it more bench rest to relax.
- Don’t have a banneton? Use a well-floured bowl or colander as a substitute.
Takeaway: Shaping is both science and art—practice creates loaves with structure, volume, and beautiful texture.