Looking for a gluten free sourdough recipe? This recipe is a rewarding adventure that opens up delicious bread to anyone avoiding gluten. Unlike traditional sourdough, gluten-free loaves rely on a blend of alternative flours—like rice, buckwheat, sorghum, or oats—plus starches and binders, instead of wheat gluten, to create structure. The result is a loaf that’s tangy, moist, and full of flavor, but it behaves a little differently in your hands.
Jump to RecipeWhat Makes Gluten Free Sourdough Different?
Gluten-free sourdough dough is naturally stickier, looser, and more delicate than wheat dough. Without gluten, it can’t trap gas in the same way, so you’ll notice:
- Dough that feels more like a thick batter than a traditional kneadable dough.
- Loaves that don’t rise as high and may have a denser crumb.
- Extra care needed for shaping and proofing—often using a pan or lined loaf tin rather than free-form shaping.
Tips for Gluten-Free Success
- Use a blend of flours – A combination of gluten-free flours plus a starch (like tapioca or potato starch) improves texture and chew.
- Hydration is key – Gluten-free flours absorb water differently. Expect a wetter dough, but that’s normal.
- Patience for proofing – Gluten-free sourdough often benefits from a longer, slower fermentation, sometimes in the fridge overnight.
- Gentle handling – Skip kneading. Instead, focus on mixing thoroughly and letting fermentation do the work.
- Flavor development – A tangy sourdough starter adds flavor depth that makes gluten-free bread feel more like traditional sourdough.
Why You’ll Love It
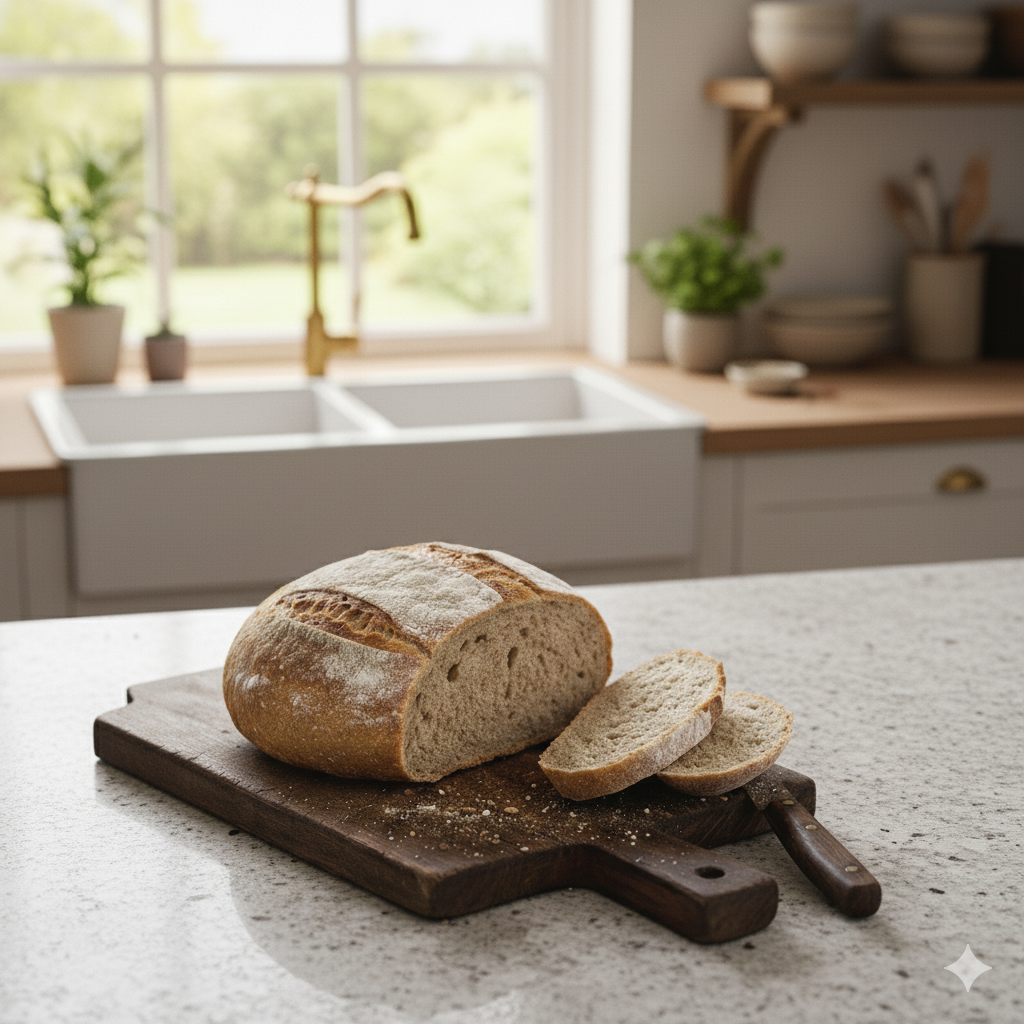
Gluten free sourdough offers all the tang and heartiness of classic sourdough without wheat. It’s moist, flavorful, and satisfying, perfect for toasting, sandwiches, or simply enjoying with butter. While it behaves differently in the kitchen, learning the rhythm of gluten-free dough is part of the fun—and the reward is a loaf everyone can enjoy.
Your gluten-free sourdough recipe is ready below, perfectly formatted for WP Recipe Maker, with tips to help you bake a loaf that’s both beautiful and delicious.
Gluten-Free Sourdough Bread
Ingredients
- 150 g brown rice flour
- 100 g sorghum flour
- 50 g oat flour certified gluten-free
- 50 g tapioca starch or potato starch
- 1 tsp xanthan gum or guar gum
- 350 –375g water warm
- 100 g active gluten-free sourdough starter
- 10 g salt
- 1 tbsp olive oil or melted butter optional, for richness
Instructions
Mix flours and water
- In a large bowl, whisk together the flours, starch, and xanthan gum. Add the water and stir until smooth. The mixture will be thicker than a batter but wetter than traditional dough. Let rest 30 minutes (autolyse).
Add starter and salt
- Stir in the gluten-free sourdough starter, salt, and oil (if using). Mix thoroughly until fully combined. The dough will feel sticky—this is normal.
Bulk fermentation
- Cover the bowl and let the dough rise at room temperature for 6–8 hours, until slightly puffed. Gluten-free dough doesn’t rise as dramatically, so look for gentle swelling rather than doubling in size.
Prepare for baking
- Line a loaf pan with parchment or lightly grease. Transfer the dough into the pan using a spatula. Smooth the top gently.
Final proof
- Cover and let the dough rest 2–3 hours at room temperature, or refrigerate overnight for deeper flavor.
Preheat oven
- Preheat to 425°F (220°C). Place an oven-safe dish of water on the bottom rack to create steam (optional, helps with crust).
Bake
- Bake for 50–55 minutes, until the top is golden brown and a skewer inserted in the center comes out clean.
Cool completely
- Remove the bread from the pan and let it cool on a wire rack for at least 1 hour. Gluten-free bread needs extra time to set before slicing.