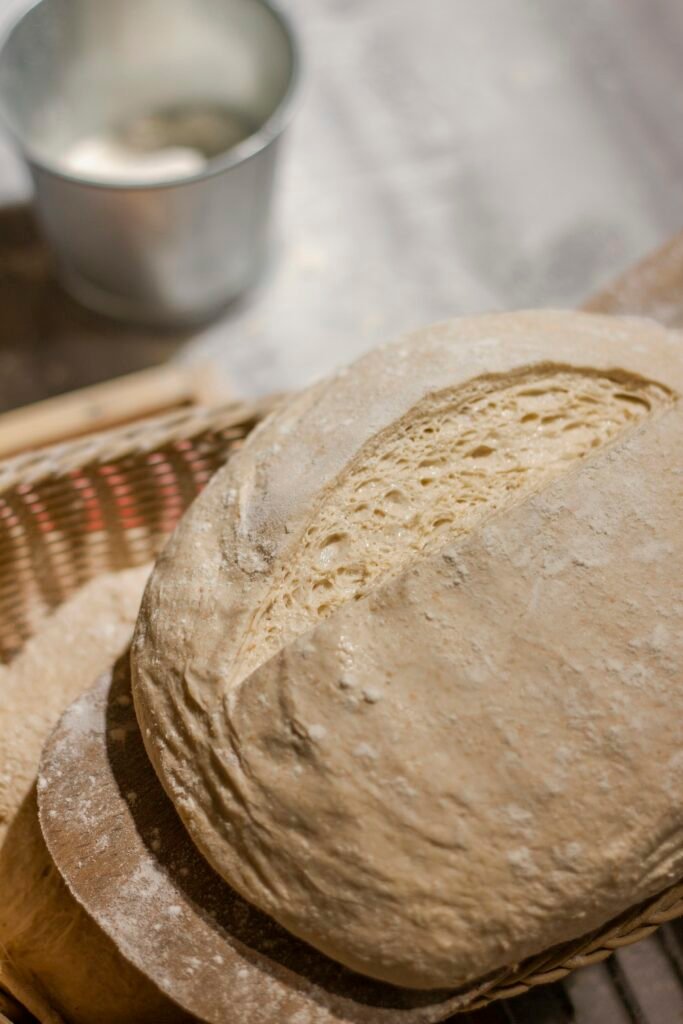
Final Proofing
The final proof is the last rise before baking—and it has a big impact on the volume, flavor, and texture of your sourdough loaf. This step is all about patience and observation.
Starting the Final Proof
Once your dough is shaped and resting in a banneton or cloth-lined bowl, cover it to prevent drying and place it in a warm, draft-free spot.
- Proofing time varies depending on temperature, starter strength, and your recipe.
- At room temperature, the final proof usually takes 1.5 to 4 hours.

Retardation (Optional)
You can slow things down by placing the covered dough in the refrigerator—a technique called retarding.
- Retardation extends the fermentation process and develops more complex flavor.
- It can last a few hours or up to a full day, depending on your schedule.
- Cooler dough is also easier to handle and score, especially if it’s high hydration.
Testing for Readiness
The best way to check proofing is the poke test:
- Gently poke the dough with a floured finger.
- If the indent springs back slowly and doesn’t fill in completely → the dough is ready.
- If it springs back too quickly → it needs more time.
- If it doesn’t spring back at all → it may be over-proofed.
What’s Happening During Proofing
- Gas Production: Yeast and bacteria keep fermenting, releasing carbon dioxide that gets trapped in the gluten network—this is what makes the dough rise.
- Flavor Development: Organic acids form, adding tang and conditioning the dough. Retardation encourages deeper, more complex flavors.
- Gluten Structure: A strong gluten network holds gas and shape. Over-proofed dough loses this structure and collapses more easily.
- Temperature Impact: Warmth speeds fermentation, while cooler temps slow it down—giving you flexibility to adjust timing.
Common Final Proofing Mistakes
- Under-proofing: Loaf bursts unevenly in the oven, with dense crumb. Fix by allowing more rise time or keeping dough warmer.
- Over-proofing: Dough feels weak, deflates when scored, and bakes flatter. Next time, shorten proof or chill earlier.
- Drying out: If dough isn’t covered properly, a skin forms that limits oven spring. Always cover well with a towel, lid, or plastic wrap.
- Scoring troubles: Warm, sticky dough is harder to score cleanly. Retarding in the fridge helps with sharper cuts.
Managing Your Schedule
Final proofing is as much about timing as technique. A few strategies to fit sourdough into your routine:
- Same-day bake: Bulk ferment in the morning, final proof mid-day, bake in the afternoon.
- Overnight retard: Shape dough in the evening, refrigerate overnight, and bake fresh in the morning.
- Extended chill: If life gets in the way, dough can often stay cold-proofed up to 24 hours with minimal issues.
Final Thought
Proofing is a skill you develop by watching and feeling your dough. With practice, you’ll learn to trust your instincts—and that’s when your sourdough really starts to shine.